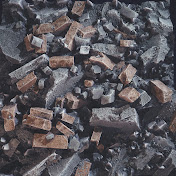
In this tutorial, you will learn how to create a brick wall and trimsheet material using Houdini and Substance Designer. The first step in creating the material is to use Houdini to create a base height map and mask for the bricks. The height map is created by building a procedural node network to create the geometry. We will use basic features of Houdini and some terrain as well for extra details on the material.
Once that is created, it will be baked in Houdini into textures. The main textures used or baked is Height, Normal and vertex color map. Each of them will be used in Substance Designer to make a material. The vertex color map is used in here as a mask, so it makes it easy to add colors is certain areas.
The final part of the tutorial will show you how to use a trimsheet. Trimsheets are stroke and shapes that can be re-used on many assets by placing the UV on those shapes. The trimsheet example in this tutorial will be a base setup that can be edited on to make it more advanced.
By the end of this tutorial, you will have an understanding of how to use Houdini and Substance Designer to create materials, and you'll be well on your way to creating your own custom textures and materials for your 3D projects.
Get file: https://siver.gumroad.com/l/mofmq
Timestamps
00:00 intro
00:12 Brick layout
03:59 Make Tillable
04:45 Heightfields for dirt buildup
06:22 Baking setup
07:10 Designer Overview
07:47 Trimsheet setup
09:14 Separate different strokes
10:38 Finishing the setup